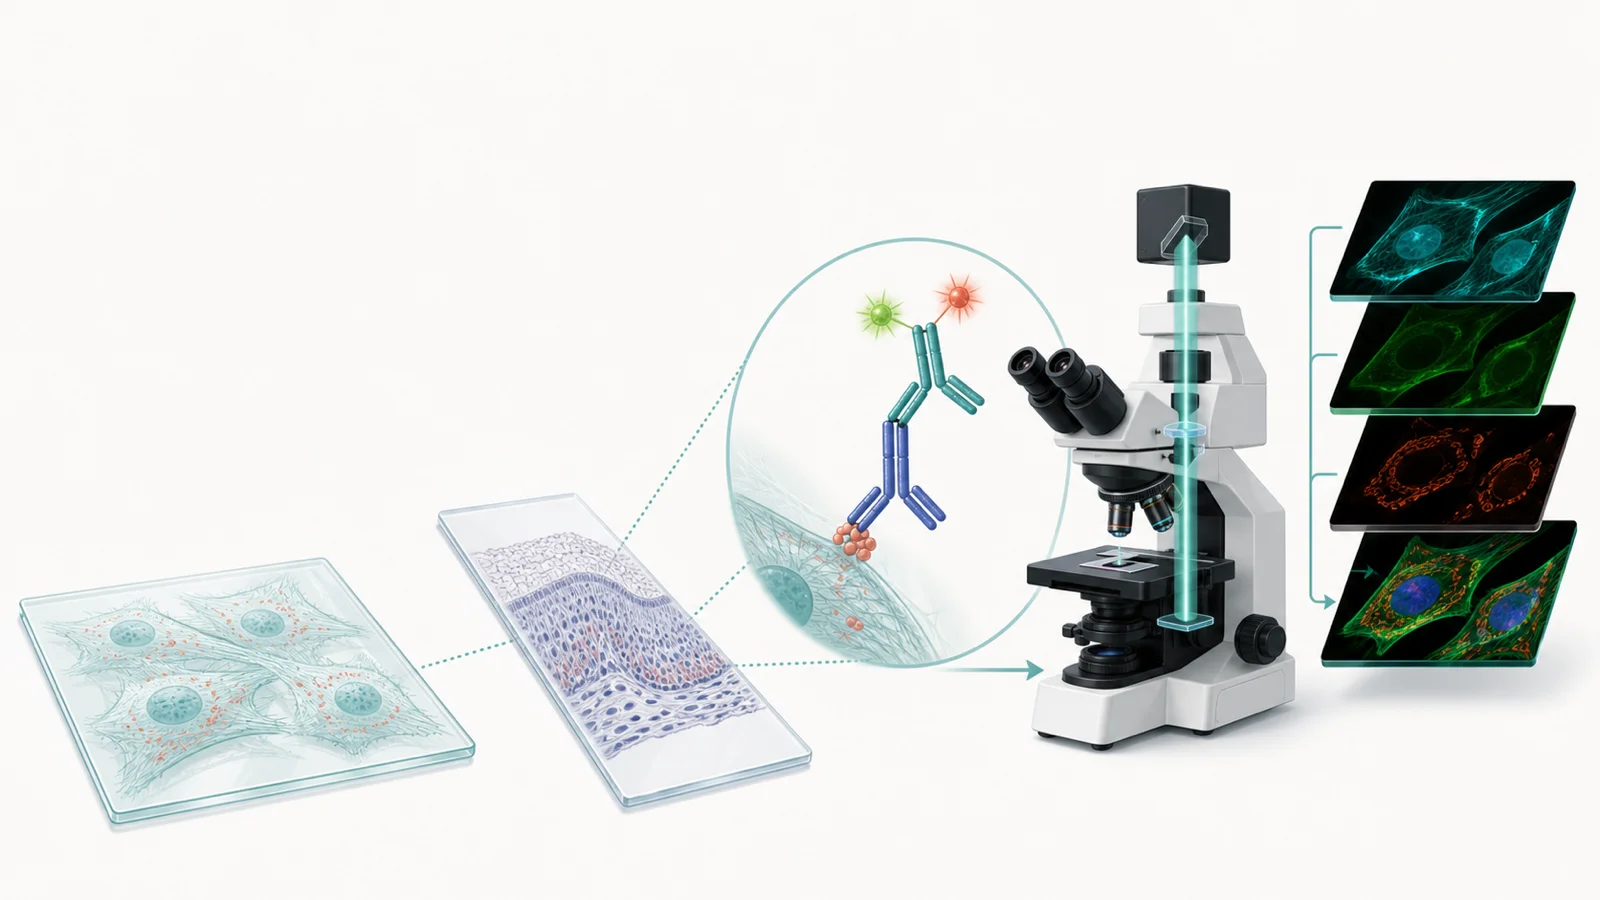
Shared workflow
General immunofluorescence (IF/IFA) staining protocol
The steps below cover the main stages of indirect immunofluorescence. Use the specimen-specific protocol when fixation, antigen retrieval, permeabilization, or tissue handling differs.
Materials and reagents
| Category | Typical requirement | Key point |
|---|
| Specimen | Adherent cultured cells, frozen tissue section, or FFPE section | Choose the preparation-specific workflow before selecting fixation or retrieval. |
| Wash buffer | PBS or TBS | Use one defined formulation consistently across comparison groups. Thermo Fisher's cultured-cell protocol gives defined PBS and TBS formulations. |
| Fixation | Fresh 4% formaldehyde/paraformaldehyde, ice-cold methanol, acetone, or another validated route | When possible, choose a fixative supported for the antibody and application, and confirm that morphology and target localization are preserved. See the cultured-cell formaldehyde and methanol examples and the frozen-section acetone example. |
| Permeabilization | Validated detergent such as Triton X-100 when intracellular access is required after aldehyde fixation | Do not add detergent automatically for surface labeling or solvent-fixed samples. Donaldson's methods protocol discusses access and alternative fixatives; Yang and colleagues explain extraction and redistribution risks. |
| Blocking / diluent | Normal serum, BSA, or a validated commercial buffer | Compare background in the appropriate controls when choosing a blocking buffer. CST's cell protocol specifies serum blocking and a BSA antibody diluent for its workflow. |
| Antibodies | Primary antibody validated for the application plus a compatible fluorescent secondary, or a validated direct conjugate | Record clone, lot, concentration, dilution, host species, and application evidence. Follow product-specific sample preparation and dilution instructions. |
| Counterstain / mounting | Nuclear stain as needed and a compatible antifade mounting medium | Confirm spectral compatibility with the microscope and planned fluorophores. CST provides mountant examples with and without DAPI. |
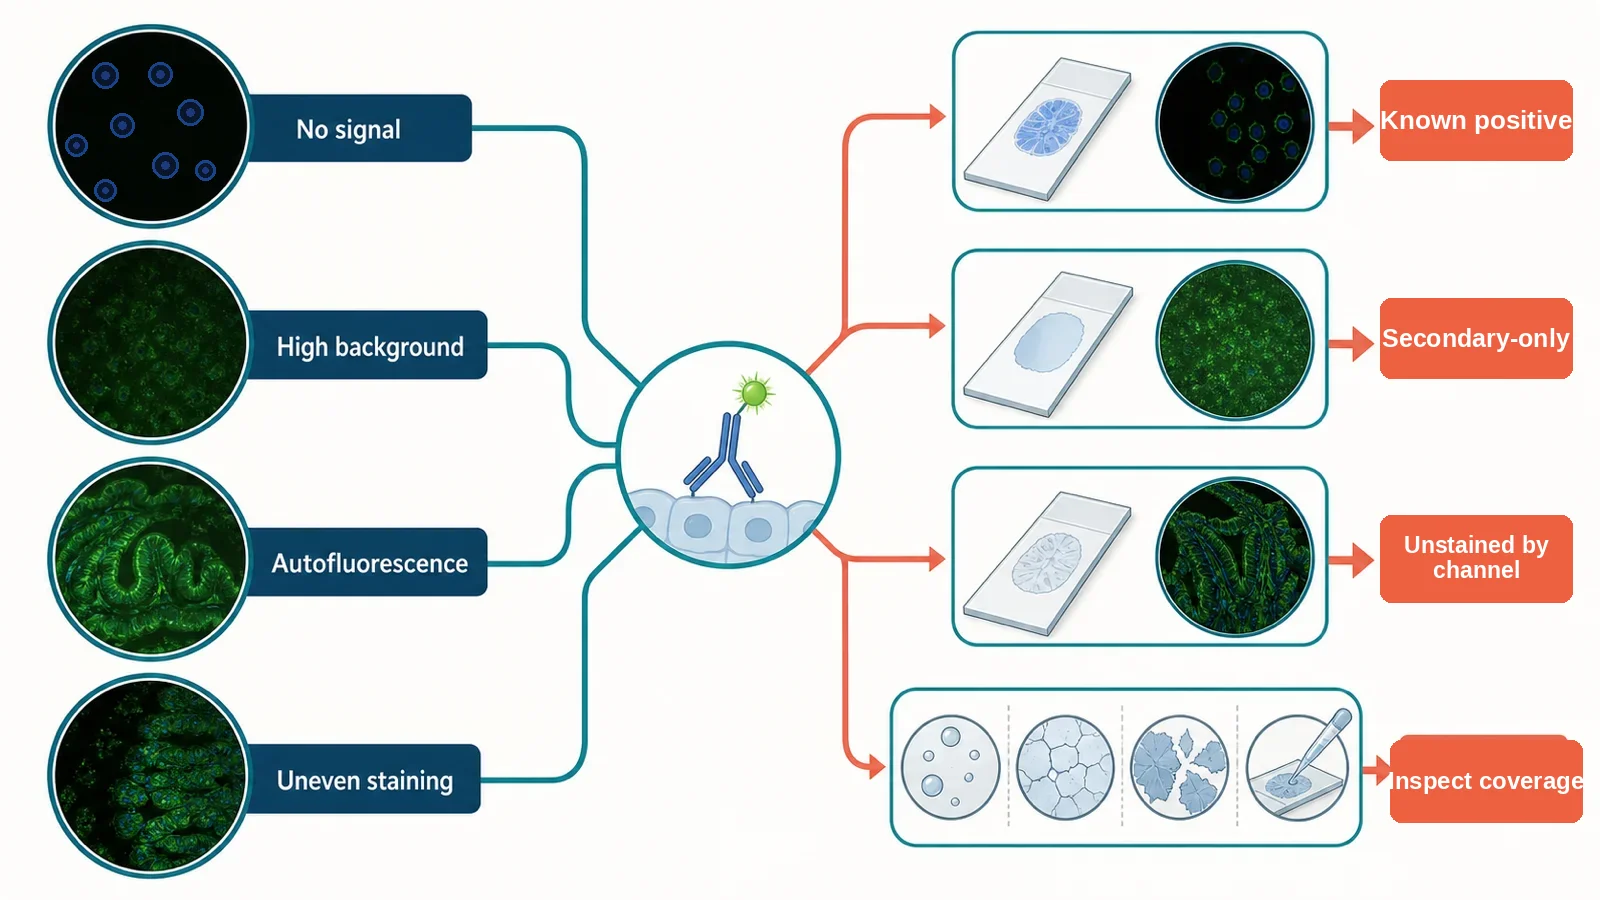
| Controls | Unstained, secondary-only or detection-reagent control, known-positive, target-negative, and single-color controls when applicable | Acquire controls before interpreting experimental images. Burry's control review distinguishes antibody and label controls; the controls guide maps them to the assay question. |
Step-by-step IF workflow
- Define the specimen and expected staining pattern. Record the sample type, expected cellular localization, and the positive and negative controls before staining.
- Prepare and preserve the sample. For cultured cells, inspect morphology and attachment before fixation. For cryosections, document tissue history, section thickness, and adhesion. For FFPE, document fixation, processing, block age, section quality, and paraffin removal.
- Choose the fixation or retrieval condition. Use the condition supported for the antibody and sample type when available. Keep time, temperature, buffer, and reagent age consistent between samples.
- Wash consistently. Remove residual fixative or retrieval reagent without allowing the specimen to dry. Keep wash composition, volume, duration, and agitation comparable across groups.
- Permeabilize when the target is intracellular and the fixation method requires it. After aldehyde fixation, use a validated detergent condition for intracellular targets. Solvent fixation can already permeabilize cells, while FFPE access is governed primarily by deparaffinization and retrieval.
- Block nonspecific interactions. Cover the full specimen in a humidified chamber. Select normal serum, BSA, or a commercial buffer based on the detection system and evaluate background with the appropriate omission or secondary-only control.
- Incubate the primary antibody. Start from the antibody supplier's validated IF/ICC or tissue application when available. Record supplier, catalog number, clone, lot, concentration, dilution, diluent, time, temperature, and volume.
- Wash and incubate with the fluorescent secondary antibody. Match the fluorescent secondary to the primary-antibody host species, protect fluorophores from light, and control cross-reactivity in dual or multiplex staining.
- Counterstain and mount. Remove unbound fluorophore, add a nuclear counterstain only when useful, prevent bubbles and compression, and use a mountant compatible with the selected fluorophores.
- Acquire controls first. Confirm specimen presence, intrinsic fluorescence, detection-reagent background, known-positive signal, channel identity, and exposure below saturation before imaging experimental groups.
- Check localization and morphology before comparing signal intensity. Review the positive and negative controls and the raw channels before adjusting display settings.
Workflow sources: Donaldson's indirect immunofluorescence method, Thermo Fisher's cultured-cell protocol, and CST's cell-imaging protocol. These support the shared staining stages; their preparation, buffer, and incubation conditions differ. Use the source that matches the antibody and specimen rather than combining conditions into an assumed validated recipe. For FFPE preparation, see the high-pH retrieval and trypsin retrieval examples.
Common cultured-cell starting conditions
These are starting conditions for pilot comparisons in fixed adherent cells, with source examples and limits noted below. Optimize them for the antibody, target, and cell type; use tissue-specific conditions for sections.
| Stage | Starting condition | What to validate |
|---|
| Aldehyde fixation | 4% formaldehyde/paraformaldehyde for about 10–15 minutes at room temperature | Expected localization, morphology, and antibody performance. CST and Thermo Fisher specify 15 minutes; the 10-minute end is a pilot comparison, not their stated 4% condition. |
| Methanol route | Ice-cold 100% methanol for about 5–15 minutes | Whether lipid extraction or loss of membrane-rich / soluble structures changes interpretation. Source examples are 5 minutes at −20°C, 10 minutes at −20°C, and 15 minutes at −20°C or on ice. |
| Permeabilization after aldehyde fixation | 0.1% Triton X-100 for about 10–15 minutes as a pilot screen | Target access versus extraction, redistribution, and morphology. This short screen is not an exact condition from the cited protocols; see the permeabilization comparison guide and the source differences below. |
| Blocking | About 60 minutes at room temperature | Secondary-only or omission-control background. Thermo Fisher's example uses a 1-hour block at room temperature. |
| Primary antibody | Validated dilution; commonly 1–2 hours at room temperature or overnight at 4°C | Expected pattern, positive control, target-negative material, and signal-to-background. Compare Donaldson's 1-hour incubation, Thermo Fisher's 2-hour incubation, and CST's overnight incubation; each uses its own preparation and diluent. |
| Secondary antibody | Validated dilution; about 1 hour at room temperature protected from light | Host compatibility, nonspecific detection, and spectral separation. Thermo Fisher and Donaldson give 1-hour examples with light protection. |
| Washing | Three washes of about 5 minutes between major labeling steps | Background, specimen retention, and run-to-run consistency. Thermo Fisher and CST specify three 5-minute washes. |
Detergent conditions need particular care: Thermo Fisher uses a separate 1% Triton X-100 treatment for 30 minutes at 37°C followed by 10 minutes at room temperature; CST includes 0.3% Triton X-100 in blocking and antibody-dilution buffers. Neither specifies the 0.1% short exposure above. Treat that exposure as a candidate pilot condition requiring evidence from the actual assay, not as a source-validated substitute for either complete workflow. A lower detergent concentration alone does not establish better preservation.
4% paraformaldehyde + 0.1% Triton X-100 is not automatically equivalent to sequential fixation and permeabilization.
If a published method or antibody protocol uses simultaneous fixation and permeabilization, compare the combined route against a sequential reference and check localization, extraction, morphology, and controls. See the
simultaneous fixation-permeabilization guide.